
After Order Instructions
Thank you for selecting RPh Labs. These after order instructions explain what to expect from your PGx test kit, how to complete your sample collection, and how to return your sample to the lab successfully.
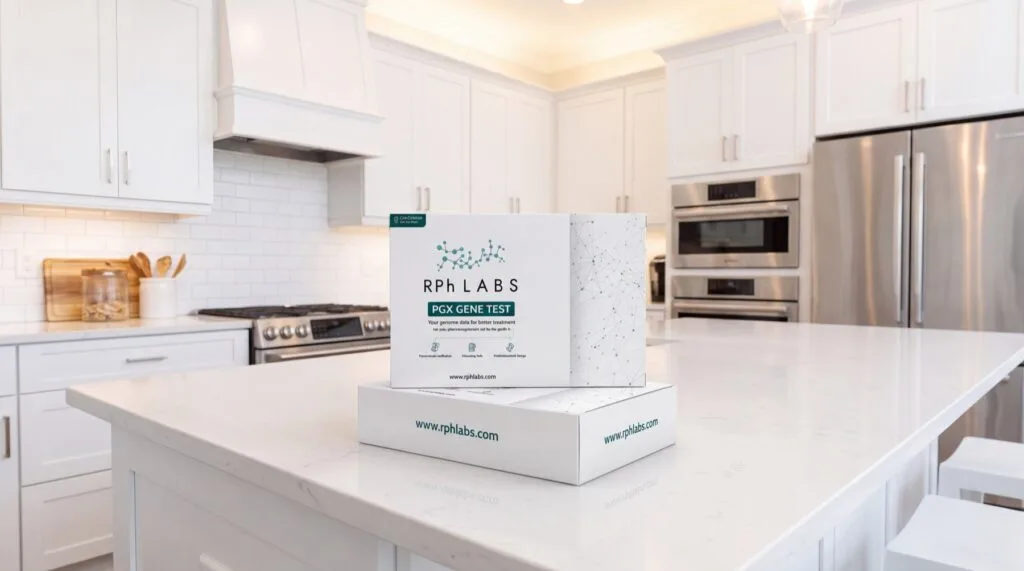
After order instructions: your kit is on its way
Thank you for selecting RPh Labs. Your USPS tracking number is in your Order Received email.
Inside our packet will be a swab to collect your own sample as well as a pre-paid return envelope to mail the sample back to the lab.
Keep these after order instructions handy until your sample is in the mail. Most failed or rejected samples come from a missed step below, and each one is easy to get right.
A little “background” on PGx tests
The way these tests work is by detecting mutations in specific genes that are related to drug metabolism. Different drugs are affected by different genes. So, for example, a single patient might be:
- A “Normal Metabolizer” for medications related to the gene CYP2C9. They would have a normal response to certain medications, like celecoxib (Celebrex) and take the normal dose.
- A “Poor Metabolizer” for medications related to the gene CYP2D6. This means they metabolize some drugs slower than some other individuals. They might have to take a decreased dose of certain medications, like paroxetine (Paxil).
- A “Rapid Metabolizer” for medications related to the gene CYP2C19. This means they metabolize some drugs faster than some other individuals. They might have to take an increased dose of certain medications, like omeprazole (Prilosec).
The U.S. Food and Drug Administration keeps a public Table of Pharmacogenetic Associations that lists many of these gene-drug pairs.
Genes covered on our test panel
ABCG2, APOE, BCHE, CYP2B6, CYP2C, CYP2D6, CYP2C9, CYP2C19, CYP3A4, CYP3A5, CYP4F2, DPYD, G6PD, NAT2, NUDT15, MT-RNR1, SLCO1B1, TPMT, UGT1A1, and VKORC1.
Customers who pay cash for the test receive the results for ALL the genes / medications we cover on your PGx report.
Tell us all of your medications
Please let us know ALL the medications you are currently prescribed, even if they seem to be working fine. This is so the report can take any drug-drug interactions into account, as well as gene-drug interactions.
Need help with collection?
Once you receive your kit, if you like, we can discuss optimal collection techniques on the phone at (888) 383-2181. Basically, you are going to swab the inside of your mouth to collect cheek cells. But there is a minimum amount of cells/DNA required for the test to work properly. We can explain and answer questions on how to swab yourself to help ensure the best collection yield.
Please read all the information below. It will help you with successful sample collection. Following these steps when you collect your sample should greatly reduce the possibility of the sample failing or being rejected.
Sample collection
NOTE: There is a certain minimal amount of DNA that must be collected in order to achieve successful results when testing.
Please follow all the directions on the provided manufacturer’s insert for the ORACOLLECT·DX OCD-100: “Procedure for Saliva Sample Collection” (PD-PR 00380) from DNA Genotek Inc.
After opening the OCD-100 for collection, please ensure the sponge tip does not come into contact with any surfaces other than the inside of the patient’s mouth. This is to prevent cross contamination which could negatively impact results.
Basic additional collection tips (in general)
- The firmer the sponge tip rubs against the inside of your cheek, the more cells you are likely to collect. This doesn’t mean that collection should be uncomfortable. Simply that using a firmer pressure will generally yield a greater amount of DNA as opposed to applying an extremely faint touch.
- The longer the sponge tip rubs against the inside of your cheek, the more cells you are likely to collect. The insert suggests rubbing the inside of each cheek 10 times. Rubbing slightly longer (no more than a total of 20-30 seconds per side) may help increase DNA yields.
- The more surface area covered by the sponge tip, the more cells you are likely to collect. This goes for both:
- Rotating the collector sponge tip so that both the front and back of the swab rub against the inside of your cheek. This may increase DNA yields as opposed to using only one side of the swab the entire collection.
- The larger the surface area covered on the inside of your cheek with the sponge tip, the more cells you are likely to collect. Once again, this does not mean that collection should be uncomfortable. Simply that covering a larger area on the inside of your cheek will generally yield a greater amount of DNA as opposed to only rubbing back and forth over the same tiny area.
CAUTION: Be careful not to spill any of the blue liquid from the tube. That liquid is what will be used for testing. After collection, please ensure the cap has been secured tightly to prevent any leakage that could occur during transit.
PGx test kit sample collection checklist
Before you seal the return envelope, run through this quick sample collection checklist:
- Swab firmly, inside both cheeks, for 20-30 seconds per side.
- Rotate the sponge tip so both sides of the swab collect cells.
- Keep the sponge tip away from every surface except the inside of your mouth.
- Do not spill the blue liquid, and screw the cap on tightly.
- Write your first and last name, date of birth, and collection date on the tube label.
- Seal the tube in the biohazard bag with the absorbent pad, then place it in the pre-labeled return packaging.
Label your tube
IMPORTANT: Please write the patient’s name (FIRST and LAST) and their date of birth on the tube’s label. This is REQUIRED. A tube MUST be labeled with two unique identifiers for processing in the laboratory. Laboratory regulations will not allow us to process a sample without two unique identifiers written on the label. Even if the contact card is completed inside the return envelope, we are not permitted to label an unlabeled tube ourselves. Another kit must be mailed to the patient for sample re-collection in these instances. Please also write the date of sample collection on the label.
Shipping your sample back
Place the labeled tube containing the collected sample into the provided biohazard specimen bag along with absorbent padding. This is to contain any accidental leakage that could possibly occur during transit. Seal the biohazard specimen bag and place everything inside the pre-labeled return packaging. Drop the return package off with the appropriate shipping company at your convenience.
What happens after we receive your sample
When your return package reaches the lab, your order moves to Testing and we email you to confirm your sample has arrived. Our laboratory then checks the tube label and the amount of DNA collected before running your PGx test.
When your report is ready, you can find it under My Reports in your account, and it is also sent to the ordering provider. If a sample cannot be processed, we will contact you about next steps, which may include mailing a new PGx test kit for re-collection.
Questions about these after order instructions? Call (888) 383-2181 or visit our contact page.